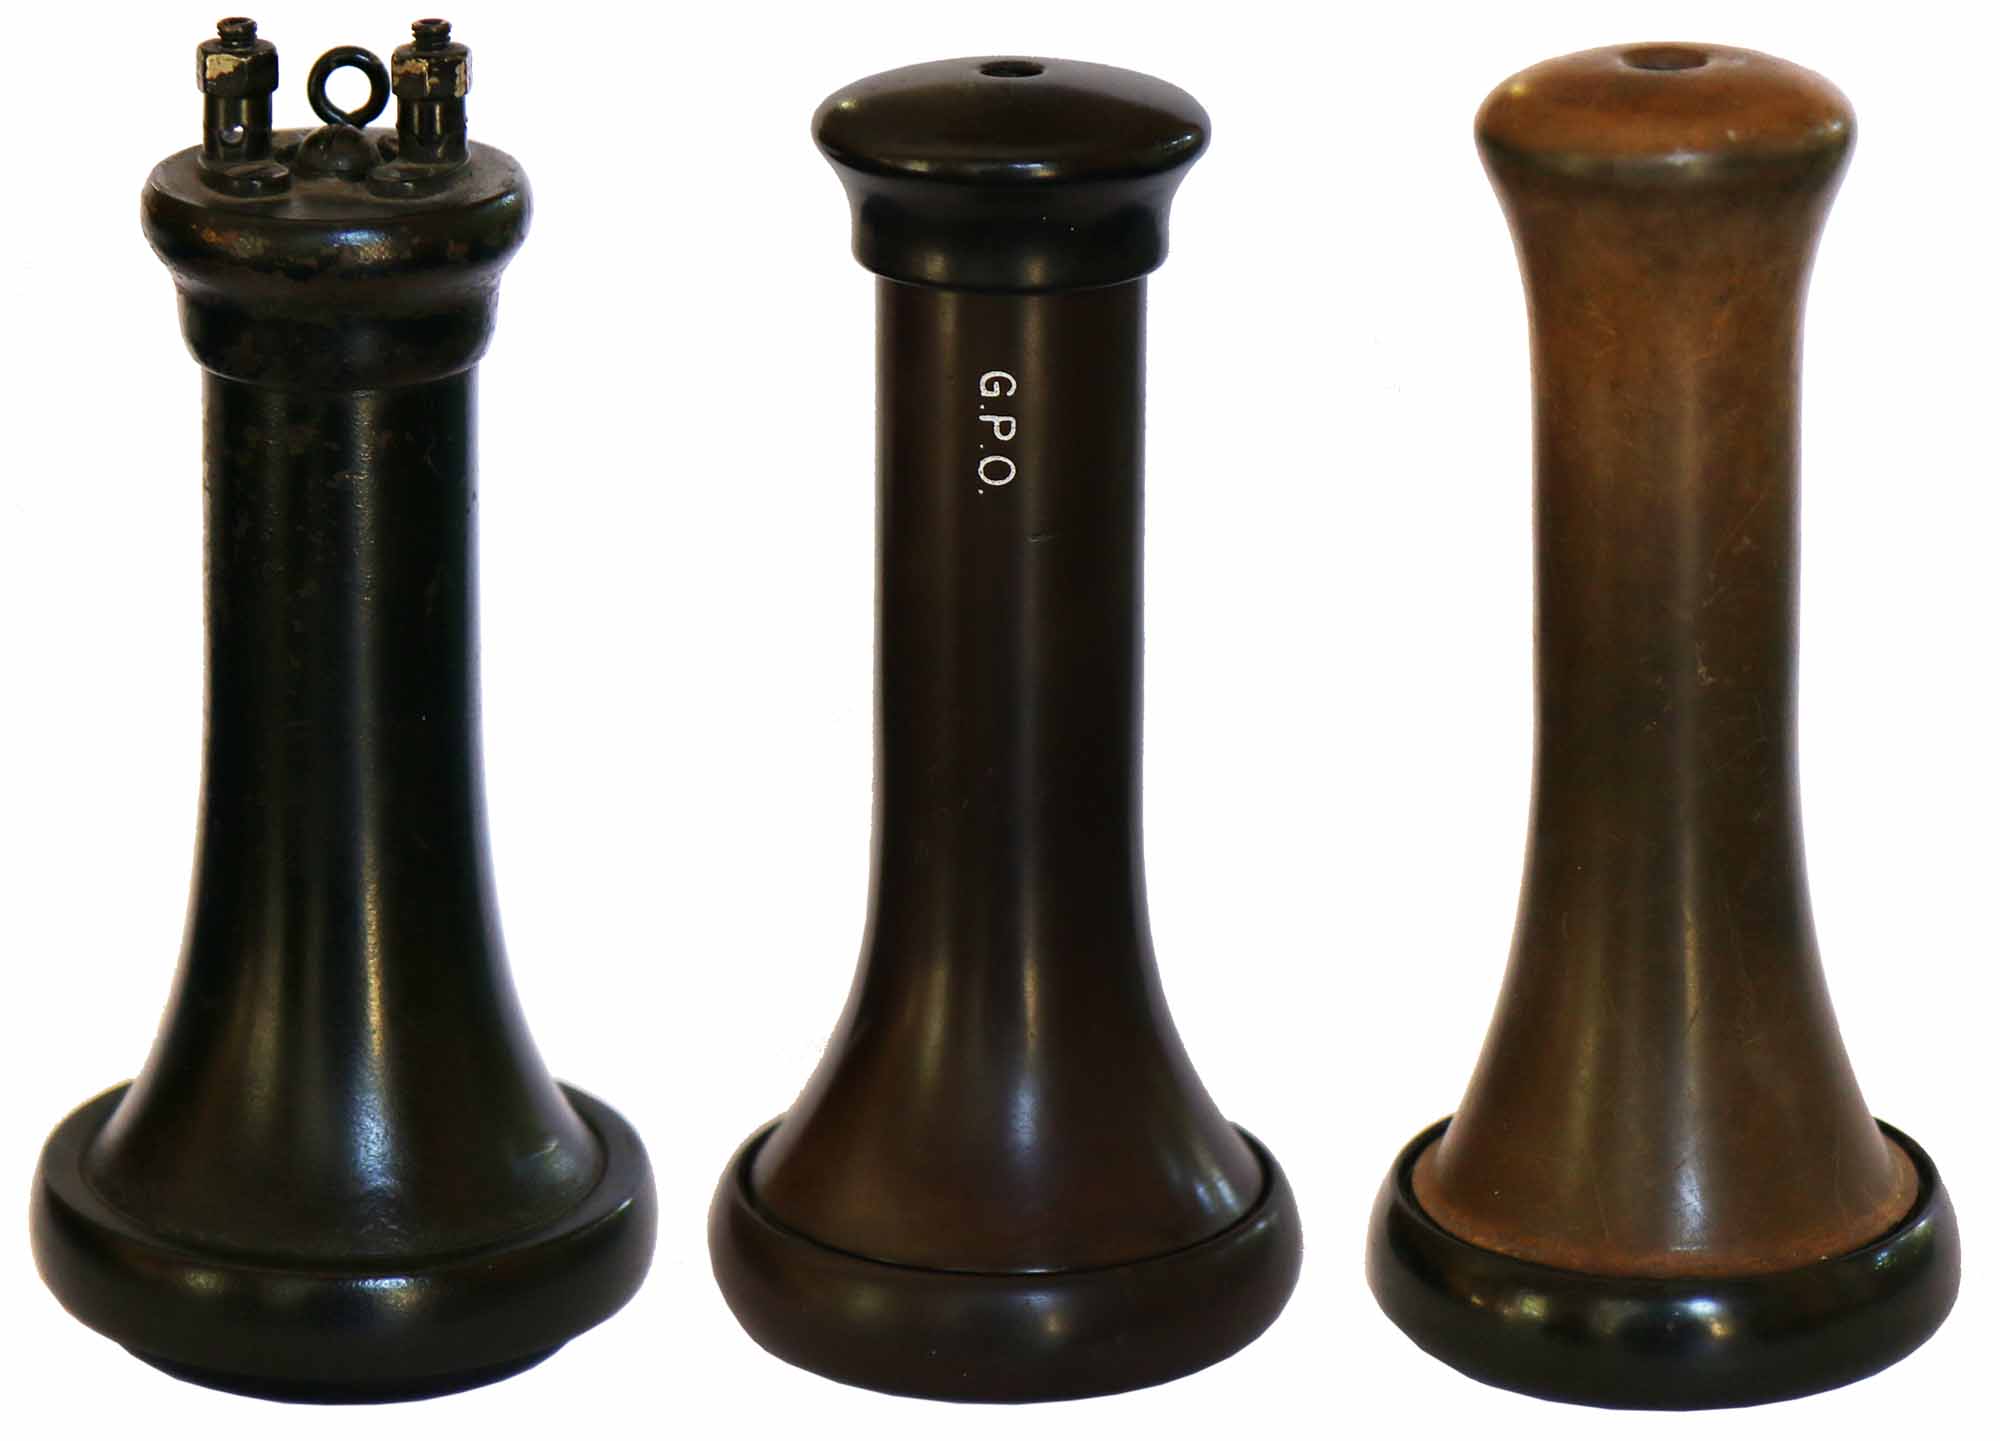
Disassembling the Capped Receiver No 1
Recently I had been trying to locate technical and historical information about the Capped Receiver No 1. In particular, who made it, when was it made and how was it coded. In the course of discussions the question arose - how is the receiver disassembled? Neither the method used to disassemble the OST receiver that preceded it nor the common Receiver 1-A that followed it applied.
Thanks to THG member Chris Boyce, the method is now known.
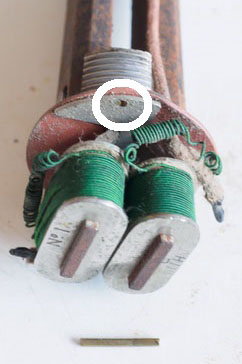
To disassemble the receiver: Remove the ear cap and diaphragm to reveal the receiver element within. There is a brass locking pin that stops the element from turning (see hole in the coil back plate below). Locate and remove the pin.
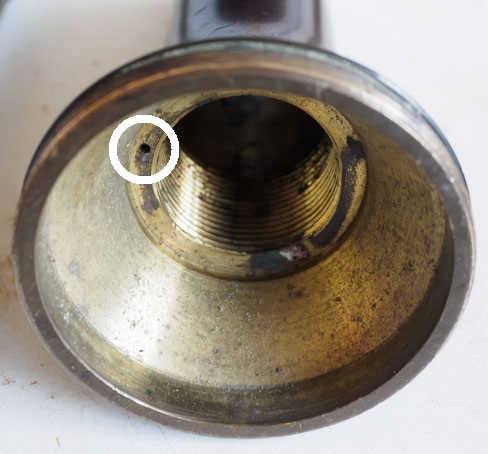
Both the element and the shell are threaded (see above and below). Once the locking pin has been removed, unscrew the element from the shell. Note that after a century, the element is probably stuck - be careful.
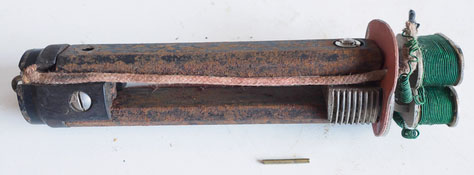
The withdrawn element and locking pin are shown above.
Image credits:
Series of receivers - Jack Ryan
Capped receiver internals - Chris Boyce
Last Update: 2019-03-07